Spring has arrived in Whatcom County Washington (the northwest corner of Washington state). It has arrived two weeks earlier than last year, which was early as well. The sun and flowers emerge fast on the heels of a very web February, which is good: lots of water then sun equals lots of nectar (in concept).
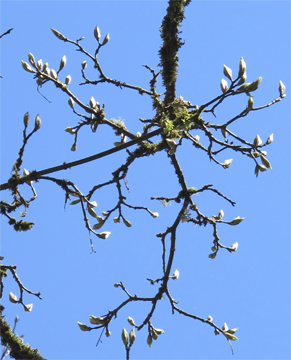
Big Leaf Maple Almost Ready To Bloom
But before the bees can easily work these coming flowers, their hives must be tidied from their post-winter configurations.
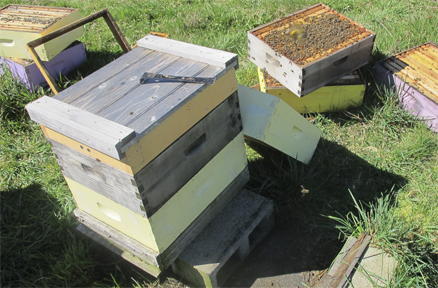
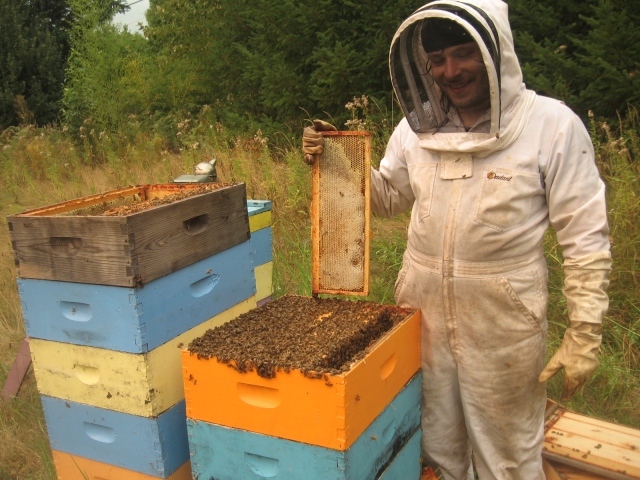
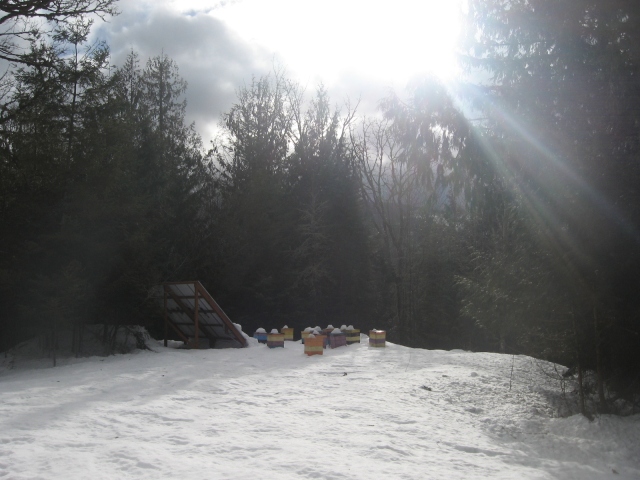
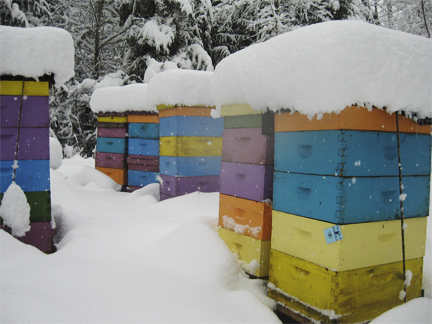
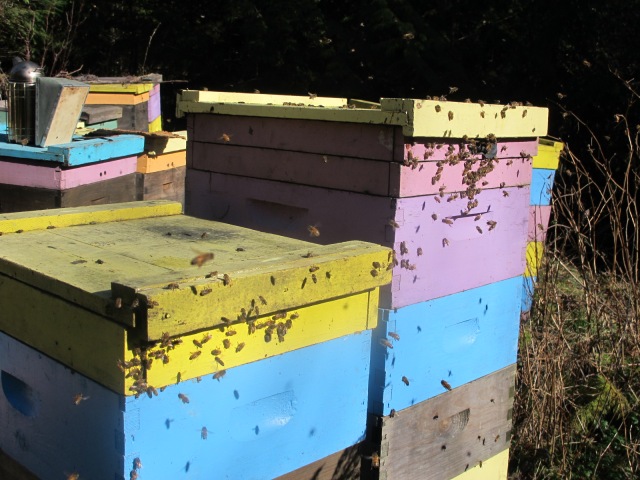
Brookfield Farm Beehives In The Spring
All my hives are in western (mediums). I over winter in a stack of four boxes. When winter starts there is pollen in the bottom box (the bees keep it there); brood in the next box; brood and honey in the third box up; and honey in the fourth box. I leave 70 pounds of honey on each hive.
The images here are from a small, 4 hive, beeyard near the farm. A small beeyard gives me time to take pictures. And, well, it’s a lovely view, isn’t it? The same yard after manipulation appears at the end of this post.
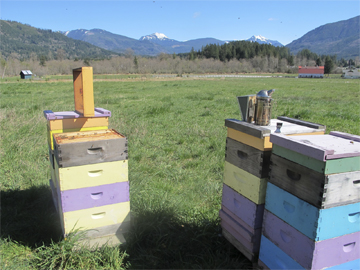
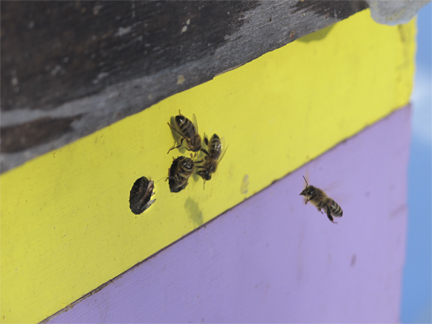
Before the work begins
By spring:
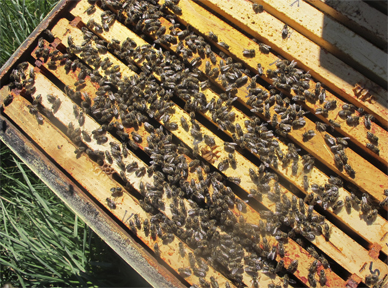
The bees have moved up into the upper boxes.
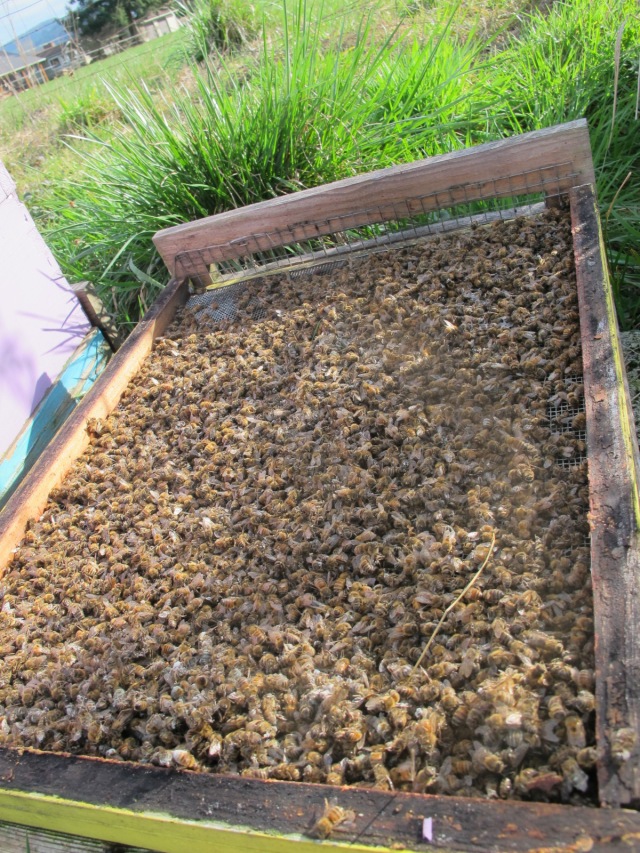
The bottom screen has dead bees on it.
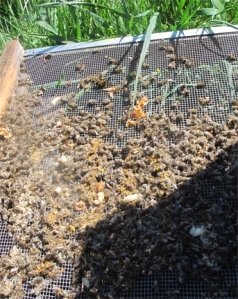
Bring Out Your Dead – The Bottom Screen
The bottom box is empty. The bees have consumed their pollen. Sometimes a hive will have some pollen the bees didn’t eat, which has molded – this isn’t harmful to the bees, they a long way from that box by spring.
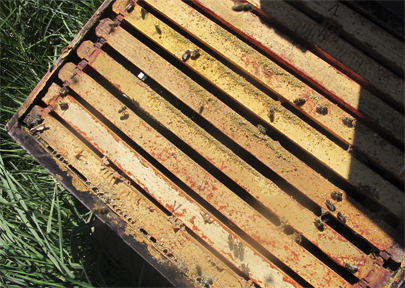
Bottom Hive Box Spring
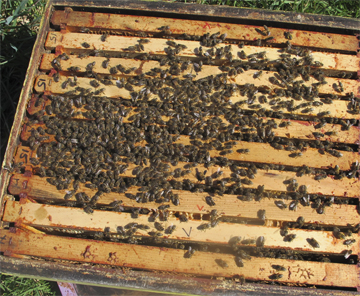
The second box is usually empty. Sometime with an especially strong hive there will be a touch of brood in the very top of it.
The third box usually has bees and brood, eggs, larva, and sealed. Often there is honey on the outer frames (1, 2, 8, 9)
3rd Hive Box in the Spring
The fourth box usually has some honey with the center frames empty or with brood. Sometimes this box is full of bees and brood and they are rapidly running out of stores. Sometimes this box is filled with honey, and the bees are honey-bound going into spring.
4th Hive Box in the spring
If I were to leave the boxes as they are in the spring, a few things could happen: 1) the bees would swarm – they think they’ve filled all their space, 2) they would be living on top of all those decomposing bees on the bottom screen, and 3) I would run out of equipment with all those empty boxes below them.
Spring Manipulation of the Beehives
Work In Progress :
Boxes are from the empty spot
I kind of “flipped” the boxes. When one works with 2 deeps, this is literally: put top box on bottom, put bottom on top. It’s more complicated with four boxes – but lighter.
Every hive is different, so I’ll explain the average:
The bottom screen is cleaned: dead bees knocked off. I use bottom screens all year long, no solid bottoms ever. The screens are dry as are the dead bees. I love bottom screens.
The bottom box and second box from the bottom are set aside – again, these are usually empty.
Now the manipulation begins, and it all depends on open brood, sealed brood, and honey stores.
The third and fourth boxes will become the first and second boxes, but each hive is different.
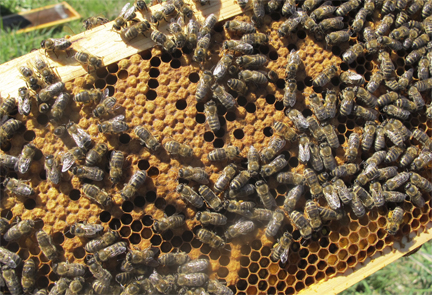
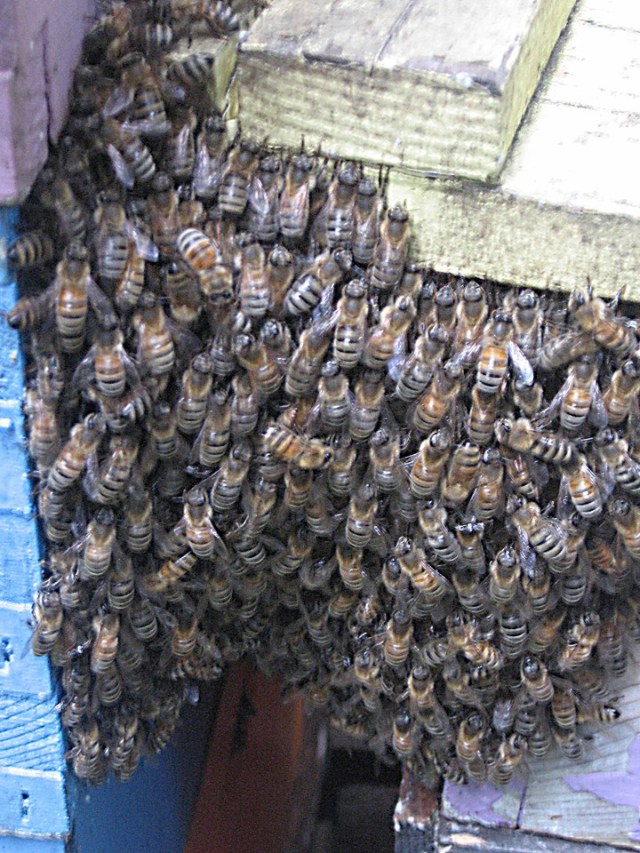
As I work, I clear the burr comb that has accumulated during winter. In the spring, this can have drone larva on it.

Bees, Burr Comb, and Larvae
In my hives it is unusual to have much drone comb in March, but this year I have emerged drones, many of which are sexually mature already. These are queen right hives. There’s just a lot of drones in the strong ones.

Lots of Drones
What I’m Trying To Achieve,
bottom to top of the hive:
Clean bottom screen.
First (Bottom) Box:
Brood – preferably with eggs, open brood, some sealed and pollen. This can usually be found in the old third or fourth box. The box stays as the bees laid it out. I move no frames unless there is something dire (like a “wall” of honey blocking the brood area)

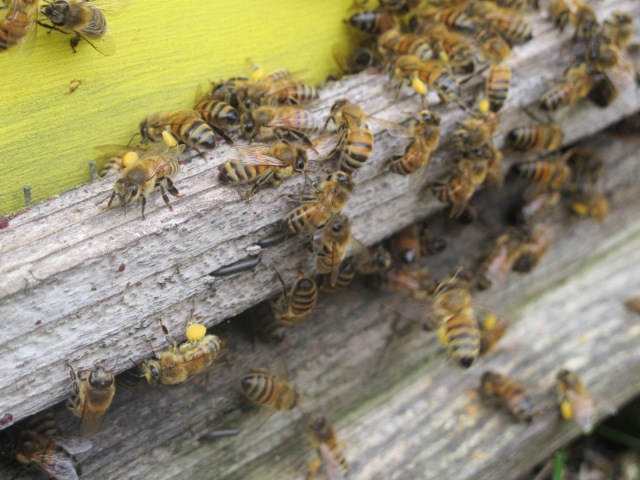
Bees On Spring Pollen
Second Box:
Sealed brood. I like to put this here because they’re going to emerge soon and leave all that nice space for the queen to use for eggs. Again, the box stays as the bees laid it out. The brood nest remains intact.
Bees On Brood
If the cluster is small, but viable, honey is put in the second box and the stack ends here.
Third Box:
If there has been a bit of brood in the old second box, they go here. The formation keeps the brood nest intact.
Now I move frames. I make sure that there are newer, empty frames for the queen to use. If the honey frames are out on the edges, I move them closer to the center – around places 2or 3 and 7 or 8, it’s a judgment call. I figure they’ll consume the honey before they need the space.
If all the honey is in the old fourth box, then I’ll use that honey, while leaving some in the new fourth box.
Sometimes the hive looks like it will take a while to fill this, and the stack ends at the third box.
Fourth Box:
This is only for hives that are really strong: lots of eggs and brood (open and sealed). In effect, I’m “supering” the hive.
If there is wall to wall honey, this is broken up – usually into the box below, while leaving some in the fourth box, usually around frames 3 and 8 – the maybe checker-boarded, maybe in a group, it really depends on the hive. I always leave spaces 5 and 6 open.
Collar:
My hives have a “collar” – a 2 inch tall box where insulation lays over a piece of burlap in the winter. The insulation is removed, unless it’s a 2-story box – I figure the little ones need a bit more warmth, even in the spring.
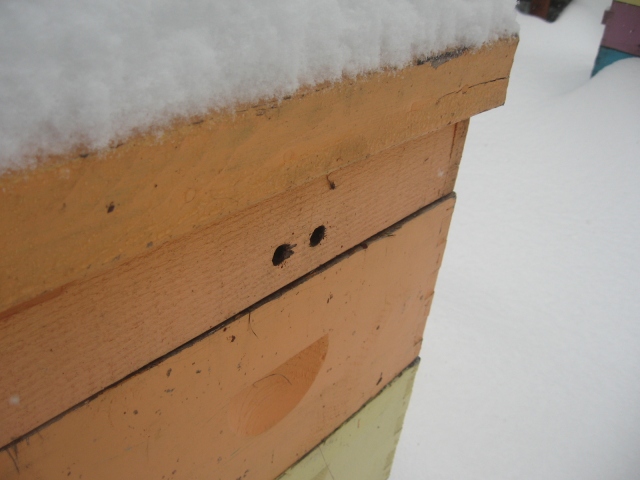
Upper Entrance in the Collar
Feeding, Again:
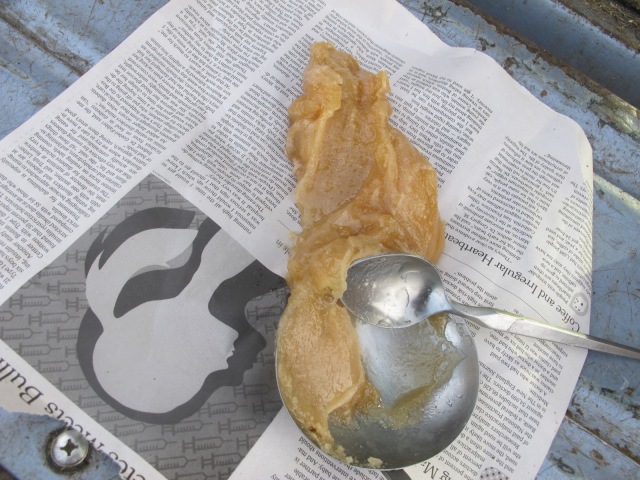
Some of the hives were fed during the February check. Some of these have now pulled in new stores (did I mention that spring has come very early here?); some still need feed. My feed of choice is “honey patties”: crystallized, or semi crystallized, honey laid between two pieces of newspaper and laid across the top bars under the burlap. The honey comes from my hives, set aside last fall.
Time, time, time
It all takes time. I’m the slowest beekeeper in the west, I think. But it seems to work in general. The girls kick off the spring with clean boxes, an intact brood nest, room to move up (really, mine never read the book that say bees move down), and a supply of honey.
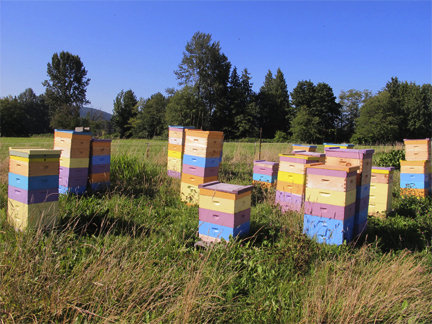
The yard looks tidy when it’s all done. You can see that one hive came through winter quite small (2-stories); one hive did fine (3-stories); and two needed to be supered already (4-stories). Same queen stock, same bees, same treatments, different results – each hive is an individual.

After the work.
Meanwhile, Back At the Farm
The pallet where I off-load bee boxes from hives that didn’t need four (or even three) boxes, and the dead-outs is a tower. These are all walked up into the “hayloft” and stacked for cleaning, the creation of this year’s supers and nucs, and the elimination of frames over 5 years old. Happily my partner has jumped in on this and has been moving and stacking boxes as I off load them. The hay from the hayloft? It’s on the ground floor of the barn – we once had 80 head of livestock, I now have nine goats, pack goats and pets. In fact to celebrate the finish of the spring tidy, I tossed packs on the lead pack goat and me and took off for a 4-hour lowland hike in the local hills…
Spring Sprang Soon
I’m glad the spring tidy is done. I once had a few weeks to do this, but this year when the February rains stopped there were two weeks before the big leaf maples bloomed. This is the first big honey flow here, and all hives must be done before that hits – or else the bees will swarm – in March or early April – it used to snow up river at this time of year. Things change, eh? We all know that as beekeepers: nothing ever stays the same.
That’s the news from Brookfield Farm Bees and Honey in Maple Falls, Washington. Next “exciting” step is to start cleaning bee boxes and frames, while putting together this year’s supers and nucs. What’s happening in your bee yards? I know Emily over at HER BLOG said seasons are moving fast in the UK (if you’ve not read her blog, check it out. It’s really, really good). Are you all seeing the seasons moving “forward” again this year?
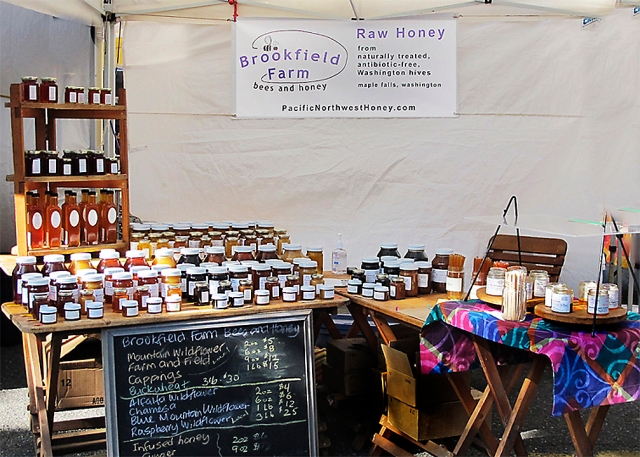
As usual you can find Brookfield Farm Bees And Honey every Sunday at two Seattle markets: The Ballard Farmers Market and the Sunday Fremont Market. I’m over at Ballard – stop by and say hi if you’re in the area.

Brookfield Farm Market Booth


